In-Ground Basketball Hoop Installation Mistakes That Can Affect Safety and Performance
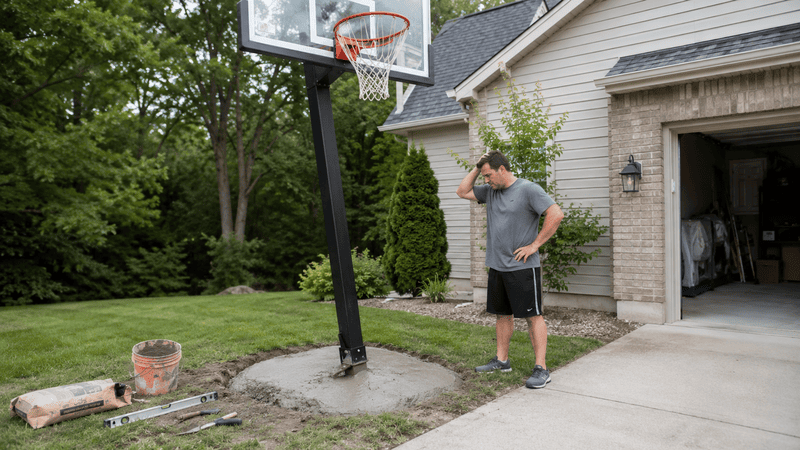
In-ground basketball hoop installation mistakes can affect safety and performance when the hole runs too shallow, concrete cures too fast, the pole tilts off level, the anchor system shifts out of place, or the hoop sits too close to a wall, driveway edge, or fence. The best setup plan depends on soil type, court layout, rim height, backboard size, concrete curing time, property boundaries, local permits, play style, and whether the space serves a home, school, park, or shared recreation area.
Key takeaways at a glance:
- Footing depth affects long-term stability
- Concrete needs proper curing time
- Pole alignment changes backboard and rim performance
- Court spacing affects safe play and movement
- Professional installation helps reduce avoidable setup mistakes
A Solid Hoop Starts Below the Surface
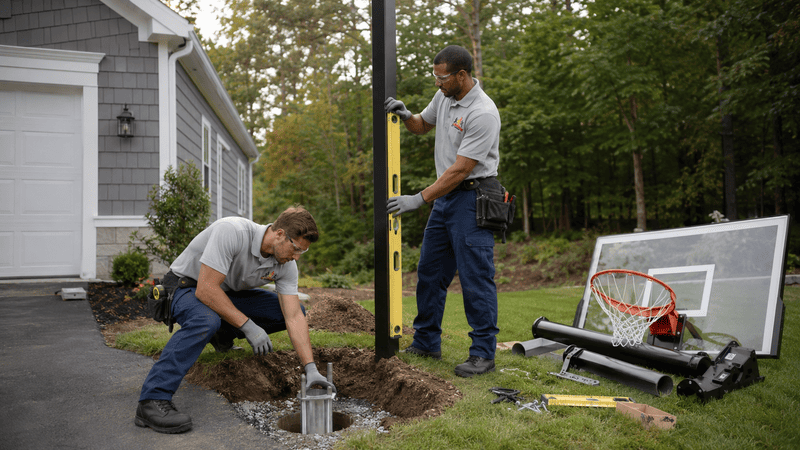
Many in-ground basketball hoop problems begin long before the first shot is taken. A rushed setup can leave the footing too shallow, the pole slightly off, or the concrete base weaker than the rim and backboard truly need. Small mistakes during digging, anchoring, leveling, and curing carry forward into leaning posts, rattling rims, and unsafe play surfaces.
Professional in-ground basketball hoop installation offers a practical path to stronger footing, straighter alignment, and hoops that hold up shot after shot for years to come.
Shallow Footings Can Create Long-Term Movement
A footing that does not reach deep enough invites shifting and leaning as the soil expands, freezes, or settles. Most installers match hole depth to local frost lines and soil pressure so the pole stays vertical through seasonal changes. Homeowners who skip depth checks often notice leaning within a single season of regular play.
Footing depth factors to weigh:
- Local frost line depth
- Soil type and drainage
- Hoop height and backboard weight
- Wind exposure on open driveways
The standard basketball hoop measurement reference provides useful context for matching the footing to rim height and backboard size.
| Footing Factor | Typical Range | Performance Impact |
|---|---|---|
| Hole depth | 36 to 48 inches | Deeper footings resist leaning |
| Concrete volume | 4 to 8 bags per hole | More volume improves anchor grip |
| Curing window | 24 to 72 hours | Longer curing supports stability |
| Anchor orientation | Level before set | Square anchors keep poles true |
Rushed Concrete Curing Can Weaken the Whole Setup
Concrete that does not cure properly loses the strength the anchor system relies on. Pouring on wet soil, using the wrong mix, or skipping the curing window leads to cracks, wobble, and eventual anchor failure. Following manufacturer instructions and local climate guidance helps the base reach full strength before real play begins.
Common curing mistakes worth avoiding:
- Adding water to speed up the set
- Loading the pole too early
- Skipping moisture control in hot weather
- Ignoring overnight temperature drops
General in-ground basketball installation for residential yards outlines the curing practices that separate strong anchor bases from weak ones.
A Slightly Crooked Pole Changes the Entire Shot
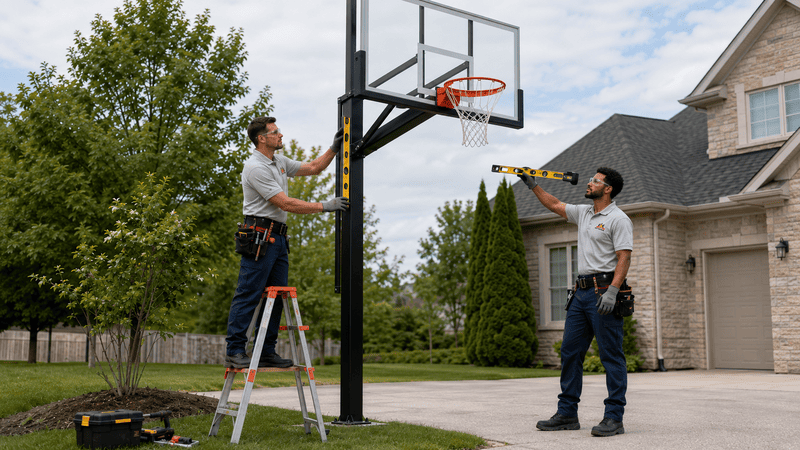
A pole leaning even slightly off plumb throws off backboard angle, rim height, and shot feel. Bank shots behave differently, rim reactions look uneven, and players notice the inconsistency quickly. Checking pole alignment from multiple directions during the set keeps the entire system balanced, since leaning often grows worse with regular use.
The in-ground hoop styles suited for driveway play catalog illustrates how different anchor styles perform under typical residential use.
Backboard and Rim Alignment Need Careful Checking
Backboard squareness and rim height shape the way the hoop plays for every age group. A rim sitting a half inch above the regulation ten feet changes shooting practice for younger players, while a tilted backboard disrupts bank shot predictability. Confirming both measurements before concrete fully cures saves a costly redo.
Looking at the basketball hoop style options for residential courts helps match backboard size and rim style to a driveway footprint and the players who use the court most often.
Key measurements to verify before play:
- Rim height at 10 feet standard
- Backboard square on top and side edges
- Rim level across and side to side
- Pole plumb checked from two directions
Court Placement Should Leave Room for Real Play
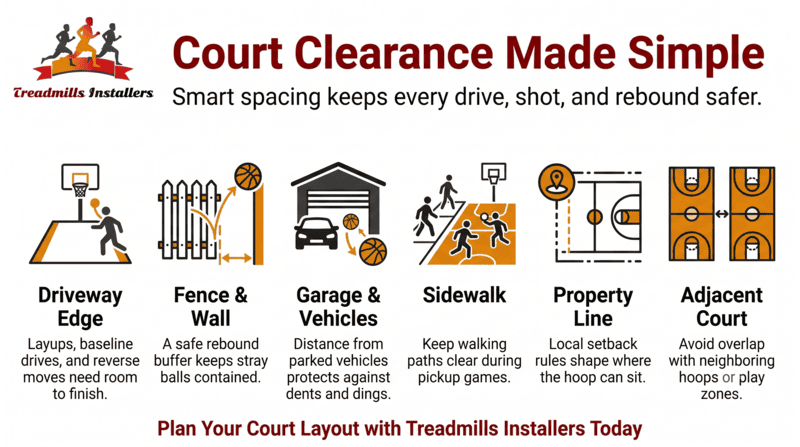
A hoop placed too close to a driveway edge, garage door, fence, or sidewalk limits movement and raises injury risk. Clearance around the key, three-point arc, and baseline drives determines how freely players move during real games. The home basketball court permit and setback guidance clarifies how setback rules affect court placement.
Spacing considerations for typical layouts:
- Driveway edge: clearance for layups and baseline drives
- Fence or wall: a safe buffer for rebounds
- Garage or parked cars: protection from stray balls
- Sidewalk: keep pedestrian paths clear during play
Households often look into basketball hoop court layout options so driveways, walkways, and play zones stay family friendly.
Underground Conditions Can Change the Installation Plan
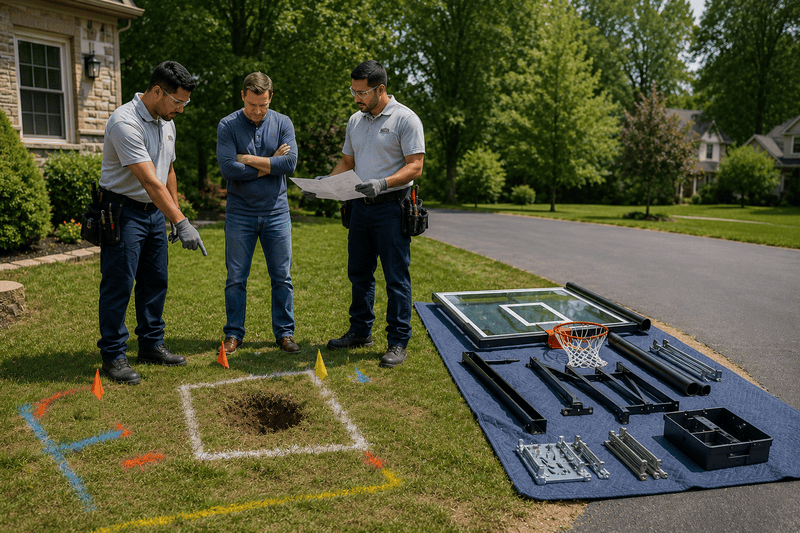
Soil type, tree roots, buried utilities, water lines, and slope all shape the installation approach. Sandy soil drains well but holds anchors loosely, while clay expands and stresses the footing through wet seasons. Calling utility location services before digging protects the project and the surrounding property.
In-ground basketball hoop installation planning means checking the court location, soil condition, footing depth, concrete needs, anchor placement, pole alignment, rim height, backboard position, clearance, and curing time before the hoop is installed.
Site conditions worth checking in advance:
- Underground utility lines
- Irrigation or sprinkler routing
- Tree roots near the planned hole
- Drainage flow during heavy rain
For tighter or unusually shaped yards, the roof mount hoop installation details offer a comparison point against traditional in-ground systems.
Playground and Recreation Areas Need Extra Layout Awareness
Shared recreation spaces, school yards, parks, and community courts add spacing concerns around other equipment. Hoops placed near swings, slides, trampolines, or game tables interfere with safe play patterns and clear sightlines. Coordinating layout across equipment types helps the whole area work better for families and groups.
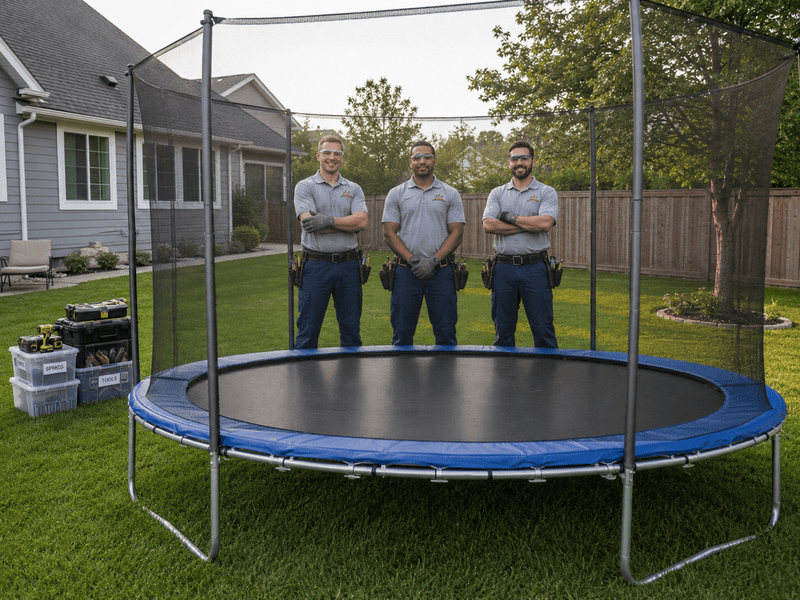
Bringing together playground installation options for parks, schools, and community areas, the in-ground trampoline installation service, and game table disassembly service clarifies how courts interact with surrounding equipment.
The playground swing set relocation service complements playground structure options for active spaces when rearranging existing recreation zones.
Professional Installation Helps the Hoop Perform Better Longer
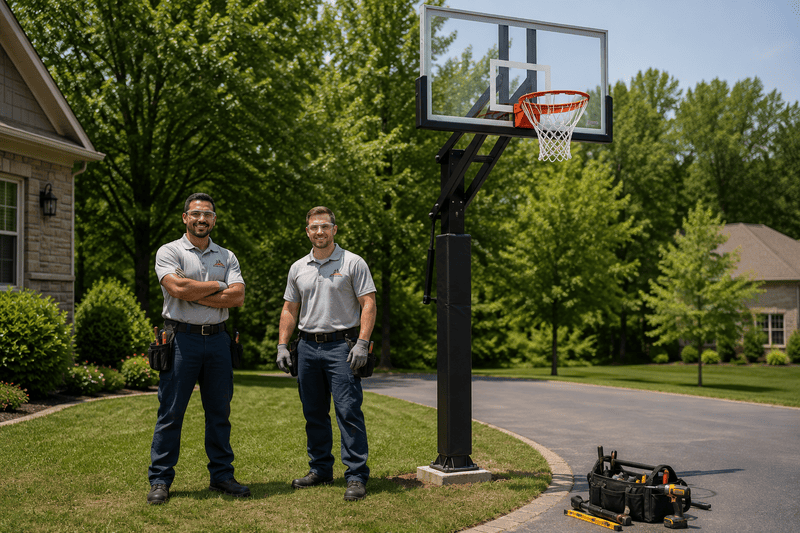
Professional installers bring a process that covers footing depth, concrete curing, pole alignment, rim height, backboard squareness, court spacing, and local permit awareness in one coordinated workflow. Homeowners benefit from a single crew handling the dig, the pour, the anchor set, and the final adjustments.
The in-ground basketball hoop installation service details outline how crews manage each stage to help reduce avoidable mistakes.
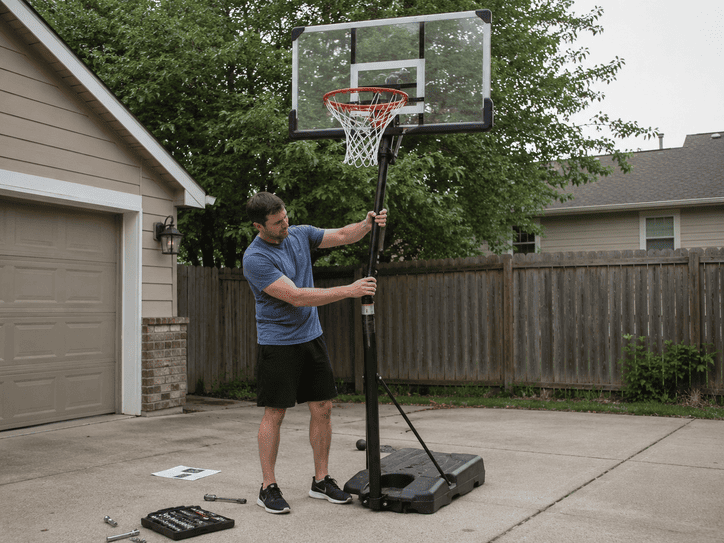
Working with a coordinated team also opens the door to related support such as the portable basketball hoop assembly service details and game table assembly for active family spaces, which keeps the whole recreation area consistent from the first install onwards.
Schedule In-Ground Basketball Hoop Installation Today
Avoid common installation mistakes by planning footing depth, concrete curing, pole alignment, backboard squareness, court spacing, and underground conditions before breaking ground. Coordinating recreation projects alongside broader property improvement services, including modular office setup service and organized office furniture installation day planning, helps keep larger jobs efficient and well managed from start to finish.
Get Your Hoop Installed the Right Way
Reach out to Treadmills Installers today for in-ground basketball hoop installation, portable basketball hoop assembly, playground structures, game table assembly, and playground structure installation services. Request basketball hoop installation service and give your court, driveway, or backyard the strong start it deserves.
Frequently Asked Questions
What happens if an in-ground basketball hoop hole is too shallow?
A shallow footing allows the pole to lean and shift as soil pressure and frost cycles change through the seasons.
Can concrete cure time affect basketball hoop stability?
Yes, concrete that cures too quickly often cracks under load and weakens the entire anchor system.
Why does a crooked pole change the way a basketball hoop plays?
Backboard angle and rim level both shift with a crooked pole, changing bank shot behavior and rim reactions.
Should rim height be checked after installation?
Always, since concrete settling can move rim height slightly off from the ten-foot regulation standard.
How close can a basketball hoop be to a driveway edge?
Leave enough clearance for layups, baseline drives, and safe movement around parked vehicles and foot traffic.
Can soil conditions affect in-ground basketball hoop installation?
Yes, sandy, clay, and rocky soils all change footing depth, drainage needs, and long-term pole stability.
Do playground areas need extra spacing around hoops?
Yes, shared play spaces benefit from extra buffers near swings, slides, trampolines, and other equipment.
When should homeowners schedule professional basketball hoop installation?
Schedule before the concrete pour, ideally after layout planning and utility location checks are complete.
Why Schools Trust Professional Classroom Furniture Installation Services to Put Student Safety First