Treadmill Installation Services for Home Gyms, Offices, and Commercial Fitness Spaces
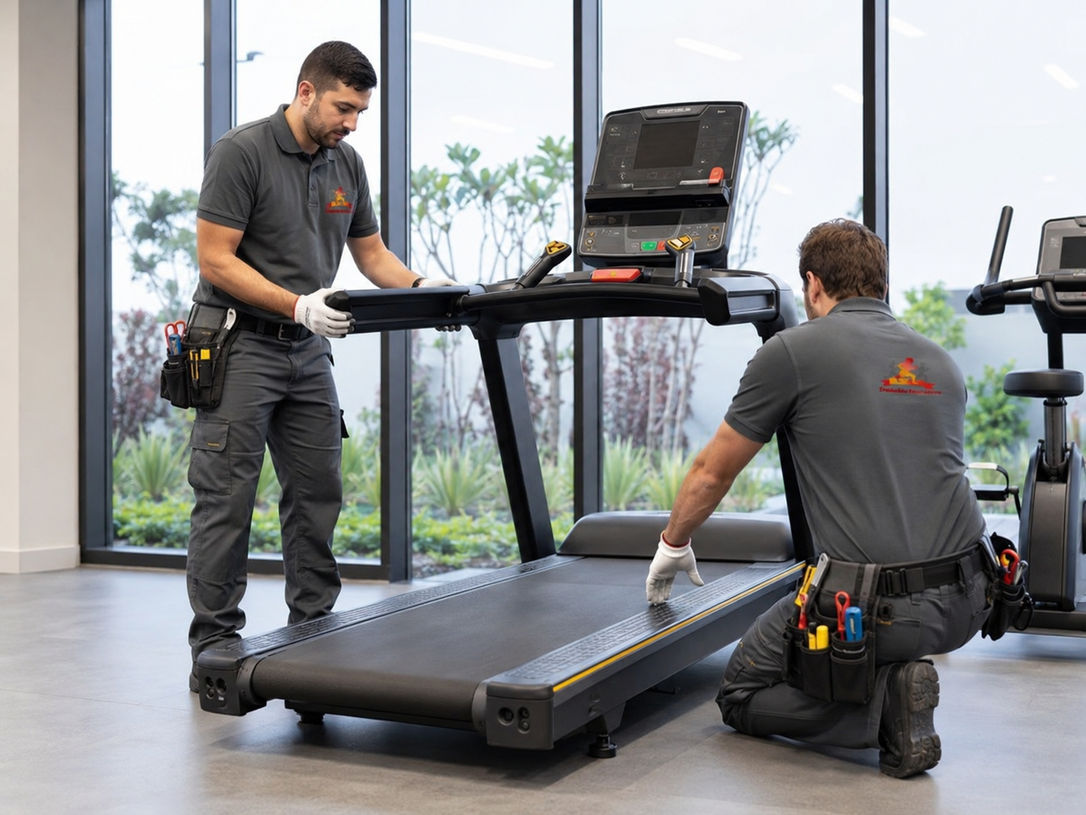
Professional treadmill installation improves safety, equipment stability, and long-term performance by making sure each machine is assembled correctly, leveled accurately, and placed in a safe, well-ventilated spot. A careful setup helps avoid wobbling decks, poor spacing, vibration noise, electrical faults, and early wear that often follow rushed assembly. Proper installation also protects floors, extends motor life, and keeps daily workouts safe for every user.
- Safe treadmill placement with correct clearance on all sides
- Stronger floor protection under heavy cardio equipment
- Better stability and reduced vibration during workouts
- Proper spacing for user comfort, airflow, and emergency exit
- Optimized performance through professional calibration and testing
Professional Treadmill Installation for Homes and Fitness Spaces
Treadmill setup looks simple until the box arrives weighing 300 pounds, the basement door is narrow, and the only outlet sits behind a shelf. Skipping steps during assembly leads to loose bolts, uneven decks, blocked airflow, and vibration that travels through floors and walls. Over time, these small issues create belt slippage, motor strain, and safety risks for runners.
A trained installer solves these problems on day one, whether the treadmill is going into a home gym, a hotel fitness room, a corporate wellness center, or a busy commercial gym floor.
What Professional Treadmill Installation Includes
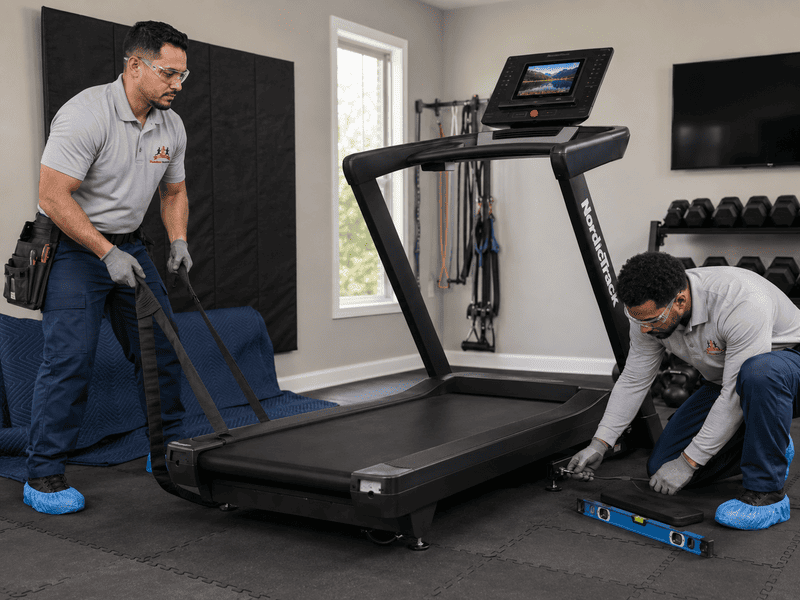
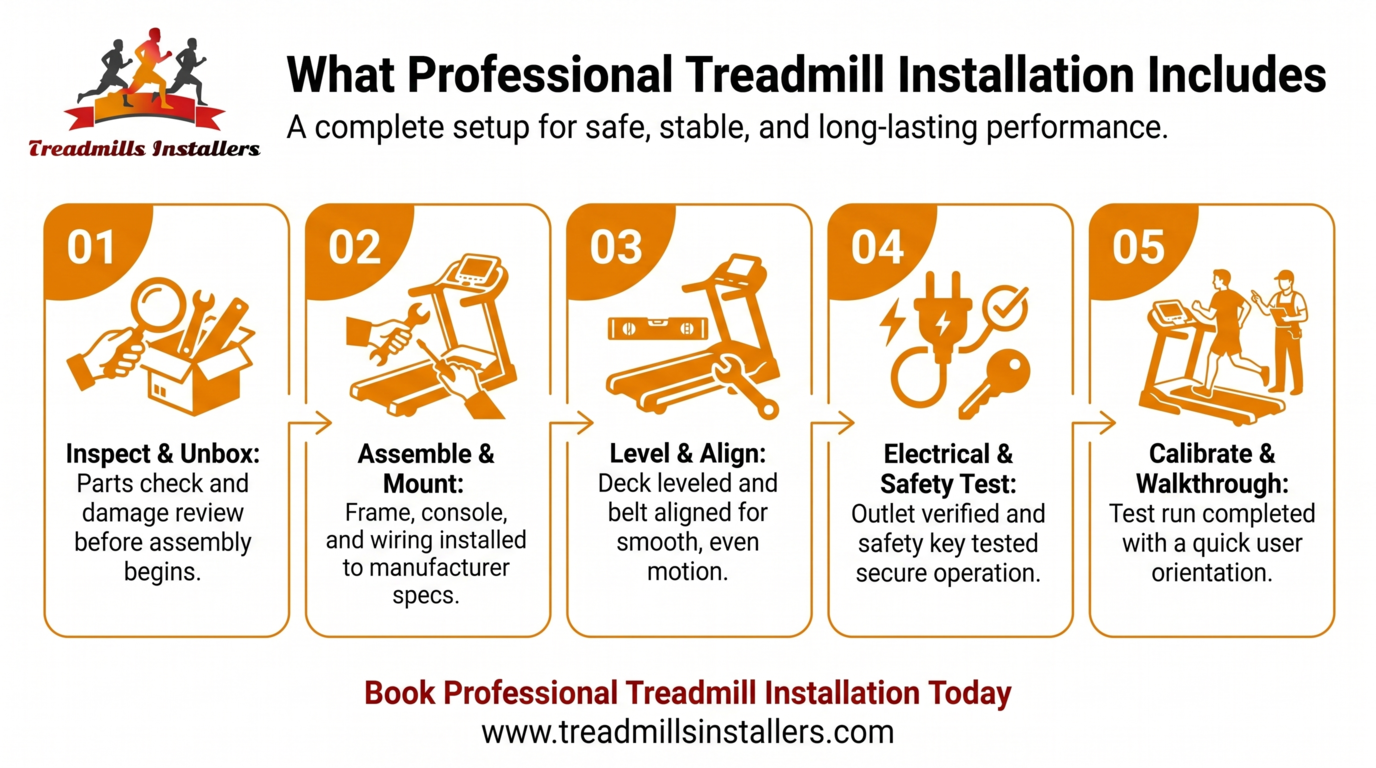
Professional treadmill installation covers unboxing, full assembly, leveling, console wiring, safety key testing, lubrication checks, and a calibration run. Technicians also verify electrical load, confirm clearance, and protect the surrounding floor before the machine is used.
A complete service usually involves several stages that go far beyond bolting parts together. Experienced installers inspect every component before assembly to catch shipping damage early. They then position the frame, attach the uprights and console, route wiring carefully, and torque each bolt to spec. A short test run confirms that the belt tracks straight, the incline motor responds, and the display reads accurate speed and distance. Many crews also offer cardio equipment setup for bikes, ellipticals, and rowers in the same visit.
Typical scope of work includes:
- Unboxing, parts inventory, and damage inspection
- Frame assembly, console mounting, and cable routing
- Belt alignment, deck leveling, and lubrication check
- Electrical verification and safety key testing
- Cleanup, debris removal, and a short user walkthrough
Best Locations for Treadmills in Homes and Commercial Spaces
The best treadmill location is a level, ventilated area with at least 3 feet of clearance behind the machine, stable flooring, and a dedicated outlet nearby. Avoid tight closets, thin upstairs floors, and rooms with poor airflow.
In home settings, basements, spare bedrooms, and finished garages work well because they offer solid floors and cooler temperatures. For apartment fitness rooms, ground-level units reduce vibration complaints from neighbors below. Hotels and offices benefit from placing treadmills near windows or HVAC vents to keep users cool. Commercial gyms typically line treadmills along walls with mirrors and screens, leaving wide aisles for foot traffic. Reviewing home treadmill options before installation helps match the machine size to the available footprint.
Common Treadmill Setup Mistakes That Affect Performance
The most common mistakes include uneven leveling, loose bolts, sharing an outlet with other appliances, skipping floor mats, and crowding the machine against walls. These shortcuts cause belt drift, motor stress, and console errors within months.
Many homeowners discover too late that small assembly errors add up. A frame that sits 1/4 inch off level can twist the deck and wear the belt unevenly. Plugging into a shared circuit can trip breakers mid run or burn out control boards. Ignoring home gym mistakes like blocked rear clearance also raises fall risk. Personal training studios and physical therapy spaces are especially sensitive to these errors because clients rely on smooth, predictable belt motion during sessions.
How Proper Installation Helps Protect Floors and Equipment
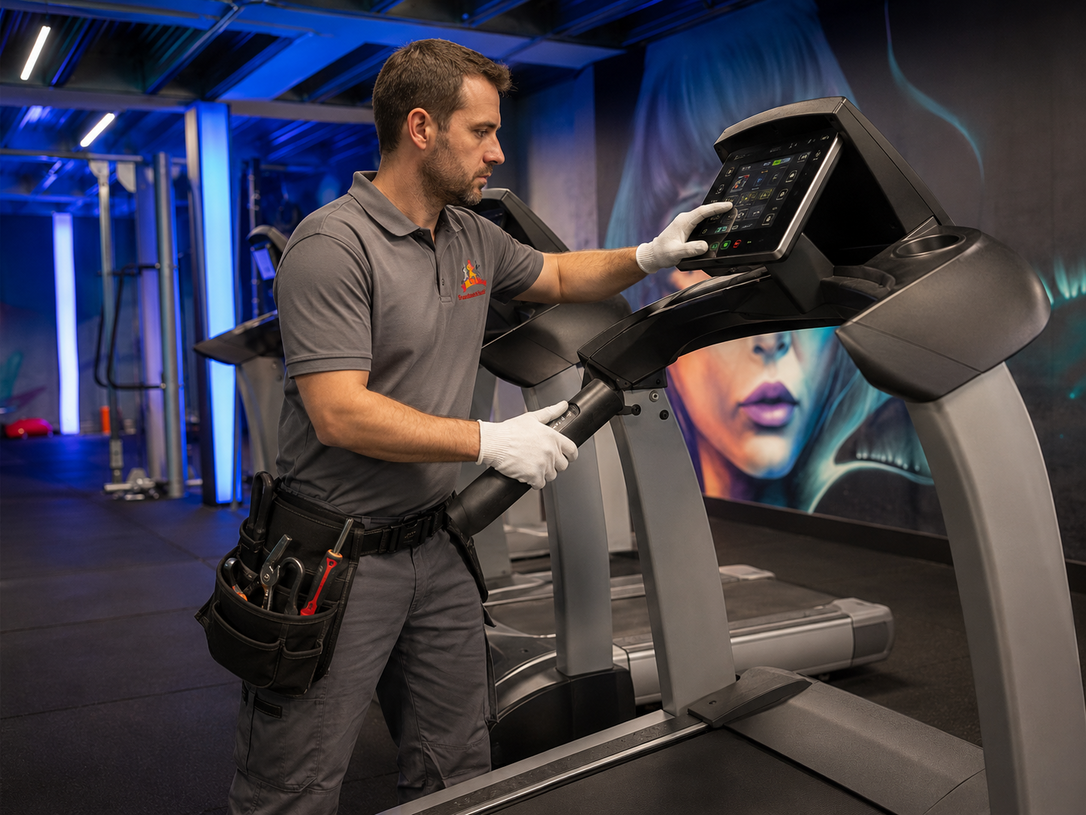
Proper installation protects floors by combining the right mat, level placement, and balanced weight distribution. Rubber or high-density foam mats absorb vibration, prevent scratches, and reduce noise transfer to rooms below.
Floor protection matters more than most owners realize. A
treadmill with a runner can place over 600 pounds of dynamic load on a single point. Without a mat, hardwood dents, tile cracks, and carpet fibers compress permanently. In shared residential gyms and apartment buildings, mats also cut vibration that travels through joists. The table below shows common flooring choices and what works best beneath a treadmill.
| Floor Type | Recommended Protection | Notes |
|---|---|---|
| Hardwood | 3/8 inch rubber mat | Prevents dents and belt dust |
| Carpet | High-density foam mat | Improves airflow under motor |
| Tile | Thick rubber mat | Reduces crack risk from impact |
| Concrete | Standard rubber mat | Absorbs vibration and noise |
| Upper-floor rooms | Layered rubber and foam | Lowers sound transfer below |
Electrical and Space Planning Tips for Fitness Equipment
Most treadmills need a dedicated 120V, 20-amp outlet, surge protection, and at least 7 feet of length plus 3 feet behind the deck. Skipping these basics is one of the top causes of console resets and motor failure.
Space planning should also account for ceiling height, especially when tall users add incline. A 7 foot ceiling with a 10 inch incline rise can put a 6 foot runner uncomfortably close to drywall. Offices and corporate wellness areas should plan walking paths around the machine so coworkers do not cross behind a running user. For multi unit buyers, comparing treadmill installation cost across rooms helps budget for outlets, mats, and ventilation upgrades together.
What Businesses Should Consider Before Installing Multiple Treadmills
Businesses installing several treadmills should plan for spacing, circuit load, ventilation, sightlines, and service access. Each unit needs its own dedicated circuit, and rows should leave at least 24 inches between machines.
Commercial gyms, hotels, and apartment fitness rooms often underestimate electrical capacity. Six treadmills on shared circuits will trip breakers during peak hours. Browsing commercial treadmill models early helps facility managers match amperage and footprint before construction. Small fitness studios should also confirm that delivery paths can handle crated equipment without damaging doorways or elevators.
Key planning points include:
- Dedicated circuits per machine with surge protection
- Minimum 24 inch side clearance and 36 inch rear clearance
- HVAC capacity for heat from multiple motors
- Service access for belt and deck maintenance
- Sightlines to screens, mirrors, and emergency exits
How Professional Setup Improves Safety in Shared Fitness Spaces
Professional setup reduces injury risk by securing every bolt, leveling the deck, posting safety stickers, and confirming the emergency stop key works. Trained installers also test handrails, console response, and belt tracking before users step on.
Shared spaces like hotel gyms, corporate wellness rooms, and apartment fitness centers see many different users daily. A loose console or drifting belt becomes a liability fast. Property managers often pair installation with fitness equipment moving when renovating, so machines are reassembled correctly after relocation rather than reused with worn or missing hardware.
When Moving and Reinstalling Treadmills Requires Extra Planning
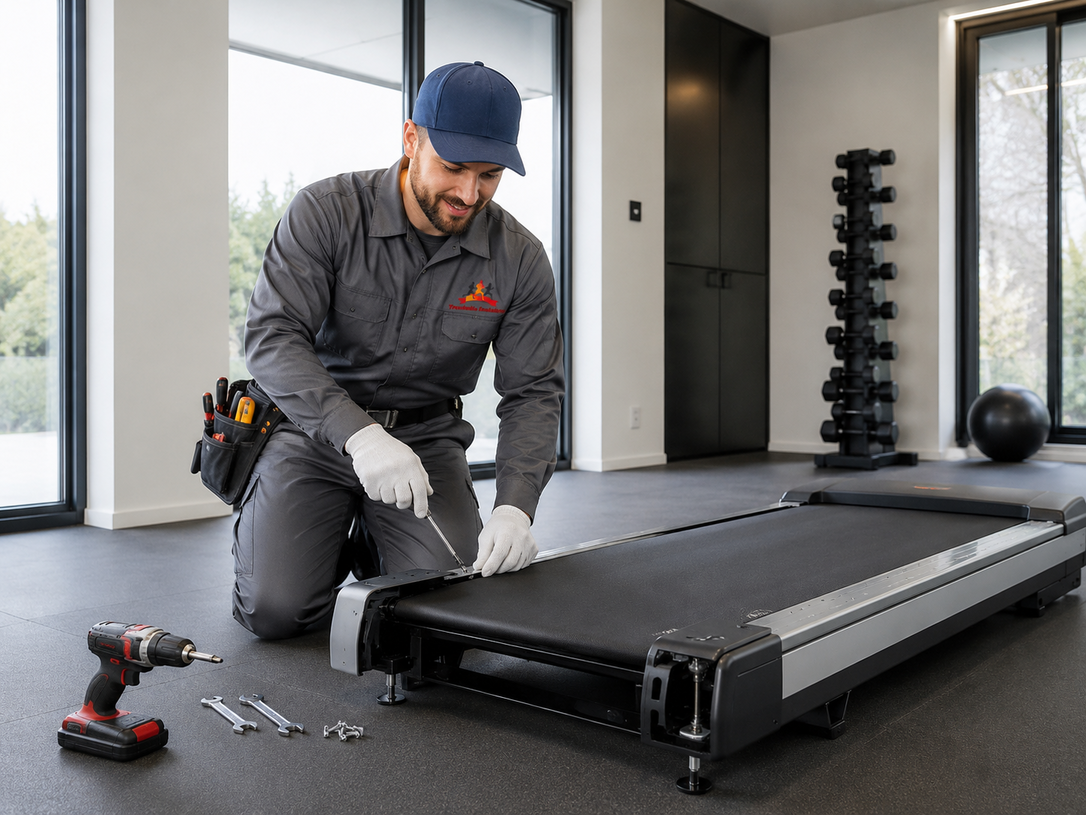
Moving a treadmill requires folding or partial disassembly, padded transport, and full reinstallation at the new spot. Belts, bolts, and consoles can shift during transit, so a recheck and recalibration are essential before the first workout.
Reinstallation is the right time to inspect parts that wear quietly, such as the deck underside, drive belt tension, and motor brushes. Owners upgrading their setup often combine the move with personal gym packages so racks, mats, and cardio gear are placed in one coordinated layout. Physical therapy clinics and personal training rooms benefit from this approach because clean layouts improve client flow.
What to Expect During Professional Treadmill Assembly Services
Customers can expect a punctual arrival, protective floor covering, careful unboxing, full assembly, testing, and a brief tutorial. Most home installs finish in 60 to 90 minutes, while commercial jobs depend on the number of units.
A typical visit starts with the technician confirming the placement spot and laying down protection. After assembly, they run the belt at low and high speeds, test incline, and check the heart rate sensors. They also walk the owner through lubrication intervals, cleaning, and safety key use. Anyone planning a complete home gym setup can request a combined visit that covers the treadmill plus other cardio and strength pieces in one trip. A standalone treadmill assembly service is also available when only the cardio machine needs attention.
Get Professional Treadmill Installation Support
Treadmills Installers delivers safe, stable, and accurate treadmill installation for homes, offices, hotels, apartments, and commercial gyms. Our crews handle assembly, leveling, floor protection, electrical checks, and performance testing so your machine runs quietly and lasts longer.
Reach out through our contact treadmill installers page to schedule a visit, and ask about long-term equipment maintenance contracts for busy facilities. Many clients also pair installation with facility activity upgrades, patio furniture setup, and filing cabinet safety for full property readiness.
Frequently Asked Questions About Treadmill Installation Services
How long does treadmill installation take?
Most residential treadmill installations take 60 to 90 minutes. Larger commercial models or multi unit jobs can run several hours, depending on access, electrical work, and the number of machines being assembled.
Where should treadmills be placed safely?
Treadmills belong in level, ventilated rooms with at least 3 feet of rear clearance and a nearby dedicated outlet. Avoid tight closets, thin upstairs floors, and spots blocked by furniture or low ceilings.
Can treadmills damage floors?
Yes, heavy treadmills can dent hardwood, crack tile, and compress carpet over time. A rubber or high-density foam mat under the machine spreads the load, absorbs vibration, and protects the floor from belt dust and impact.
How much space does a treadmill need?
Plan for about 7 feet of length, 3 feet of width, and 3 feet of clearance behind the deck. Ceiling height should also allow a tall user to run on incline without coming close to the ceiling.
Should professionals install treadmills?
Professional installation is strongly recommended because of the weight, electrical needs, and precise leveling involved. Trained installers reduce safety risks, prevent early wear, and confirm the machine runs smoothly before the first workout.
How is commercial treadmill installation different from home setup?
Commercial installs involve heavier frames, dedicated circuits, tighter spacing standards, and multiple units in one room. They also require coordinated delivery, HVAC planning, and stricter safety checks for shared user environments.
What mistakes affect treadmill performance?
Common issues include uneven leveling, loose bolts, shared electrical circuits, no floor mat, and crowded placement. These mistakes cause belt drift, console errors, vibration noise, and shorter motor life across both home and commercial machines.

Why Schools Trust Professional Classroom Furniture Installation Services to Put Student Safety First